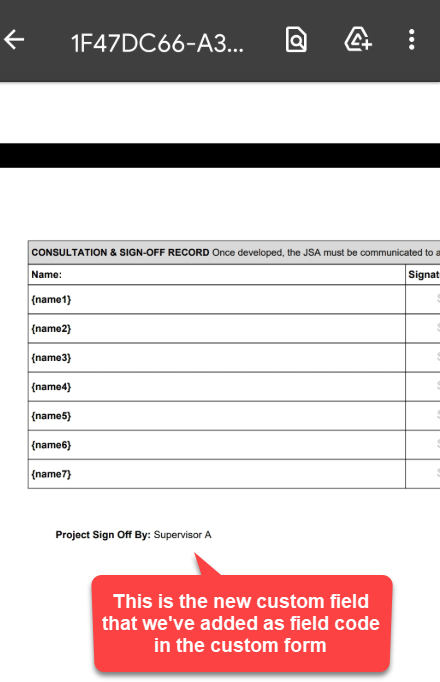









How to
Custom Fields let you record extra details on a job that Ascora doesn't have a field for, such as who signed off a project. A Custom Form can print those details, and the job's standard fields, in its PDF. You do this by typing field codes into the form's document template. Custom Fields can be added to other records too, such as customers, quotes, purchase orders and invoices.
Watch the video guide
Custom Forms - Adding Images in Ascora's Training Videos shows how to work with Custom Form templates. You need to be signed in to Ascora to watch it.
Before you start
- Create the Custom Field first, in Administration > Customisation > Custom Fields. See How to add a Custom Field.
- You need Microsoft Word, or another editor that saves .docx files, to change the document template.
How to write field codes
- Every field code sits in curly brackets.
- Standard fields are written with no spaces, for example
{JobNumber}for the Job Number,{JobName}for the Job Name,{JobSummary}for the Job Description and{JobWorkUndertaken}for Work Undertaken. - Custom Fields are written exactly as the field is named, spaces included. A Custom Field called Project Sign Off By is written
{Project Sign Off By}. - Questions on the form use the Field Code shown under each question in the Custom Form Builder, for example
{SiteLeftSafe}.
Add a Custom Field to the form's template
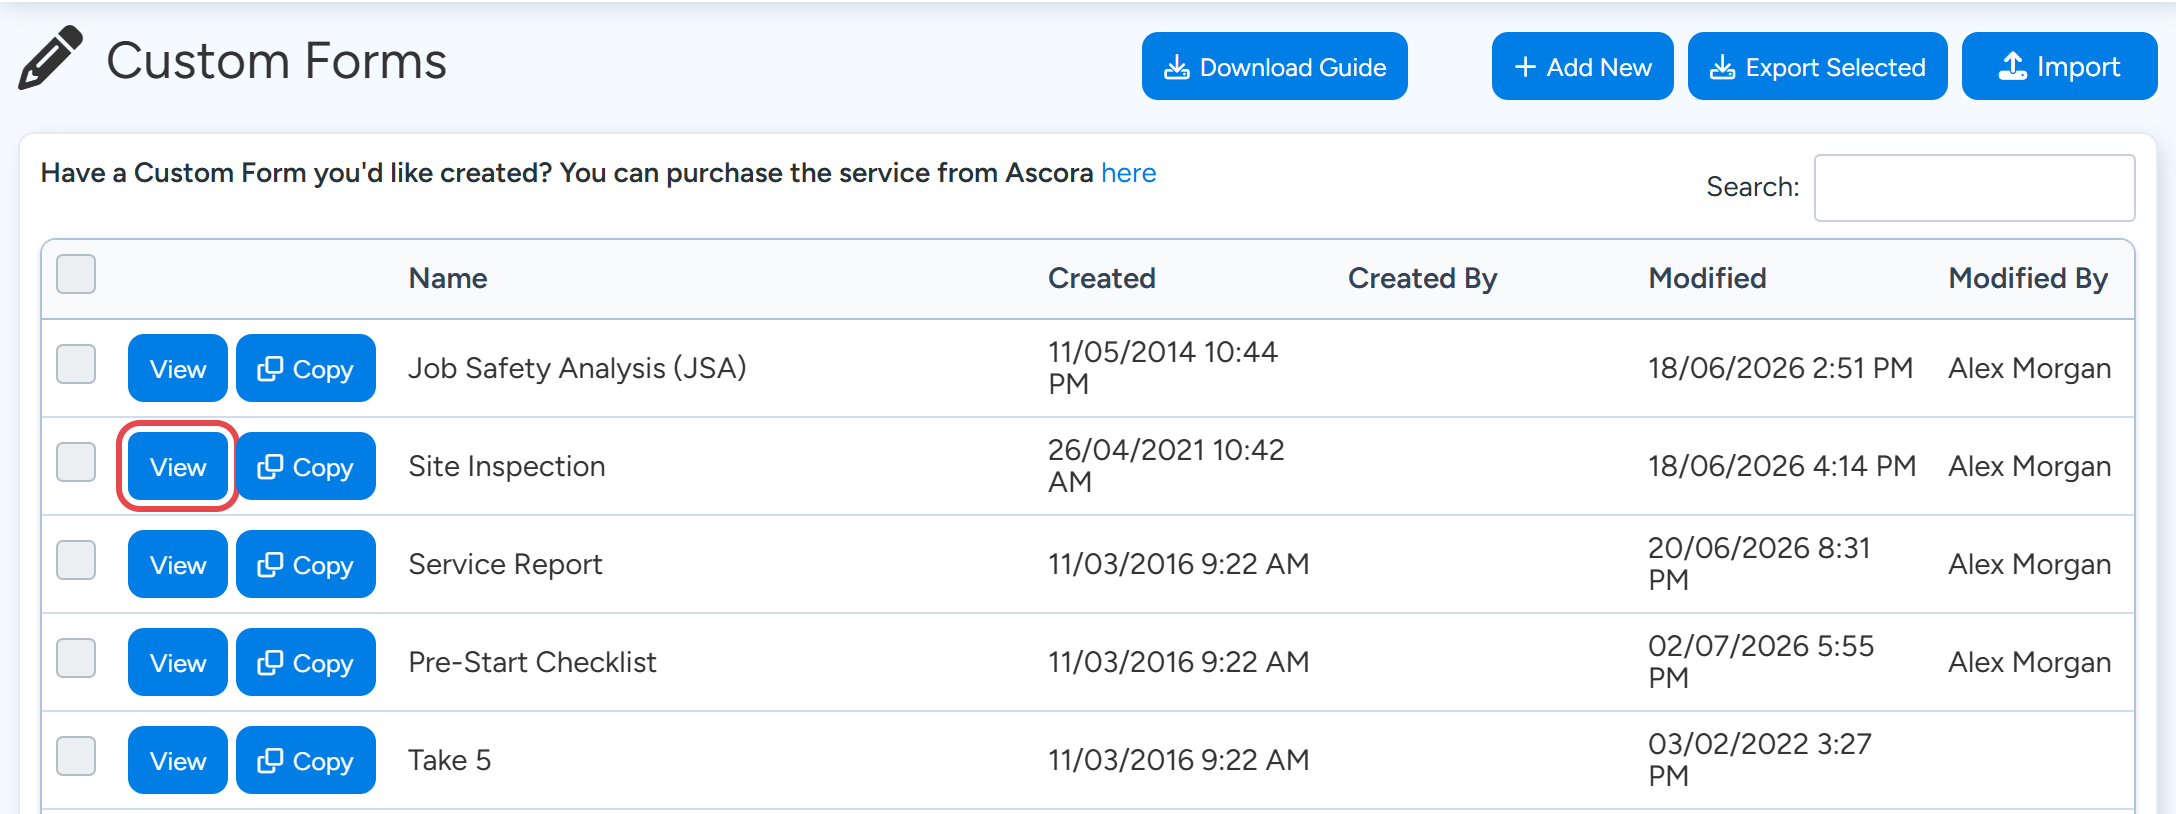
Go to Advanced > Custom Forms and select View beside the form.
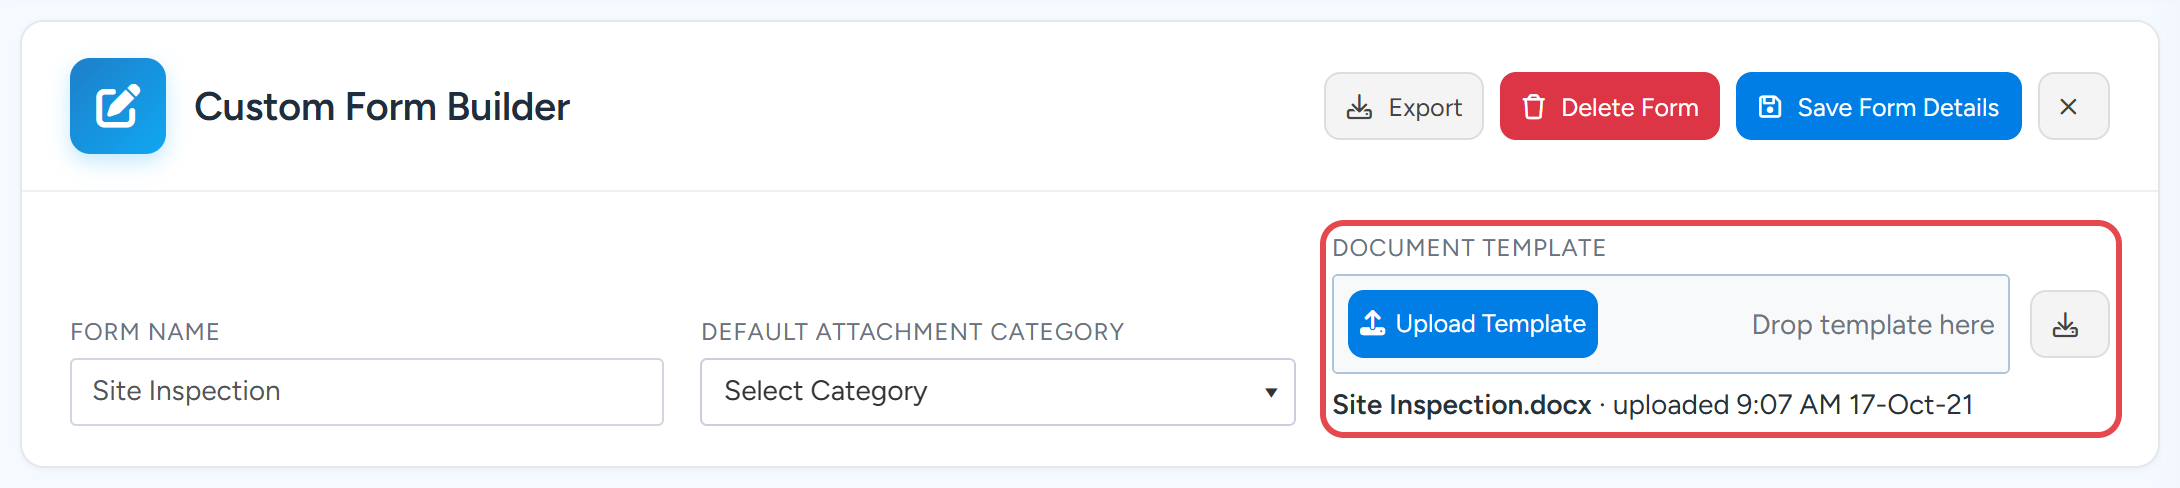
Advanced > Custom Forms. Sample data. Under Document Template, select the download button beside Upload Template.
Ascora downloads the form's current Word template.
Upload Template and the download button. Sample data. Open the template and type the field code where the value should print, for example
{Project Sign Off By}.Add a label beside it, put it in a table, or format it however you like.
Save the file on your computer.
Select Upload Template and choose the file.
You can also drag the file onto Drop template here. The new template is used for every form generated from now on.
Where the value comes from
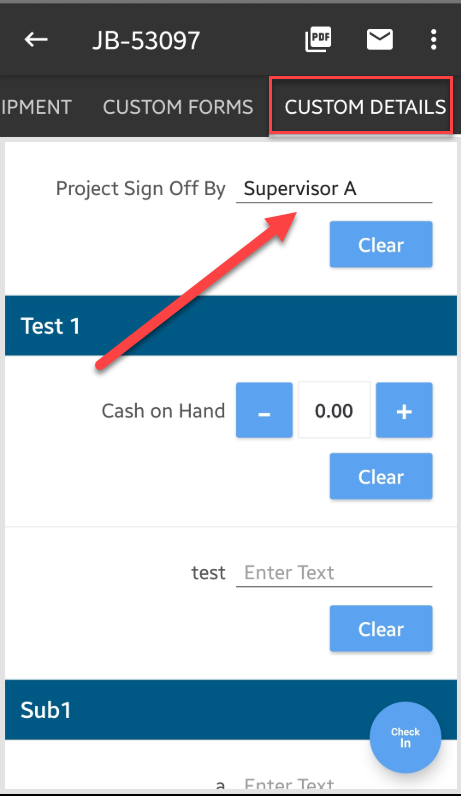
The value prints from the job's Custom Details, filled in on the web or in the mobile app. For a form on a quote, it comes from the quote's Custom Fields. For a form filled in on a piece of equipment on the job, that equipment's Custom Fields print too. If you want technicians to answer the question in the form itself instead, add a question in the Custom Form Builder and use its field code.
Test the form
Synchronise the mobile app.
This makes sure the app has your new template.
Open a job and fill in the Custom Field on its Custom Details tab.
Start a new form.
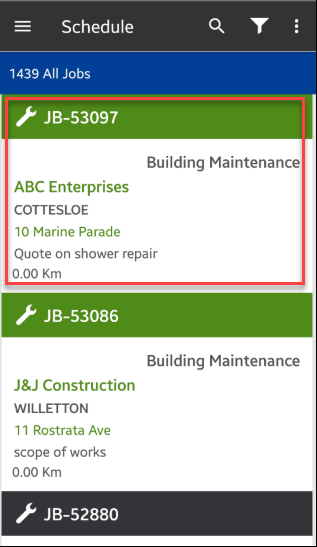
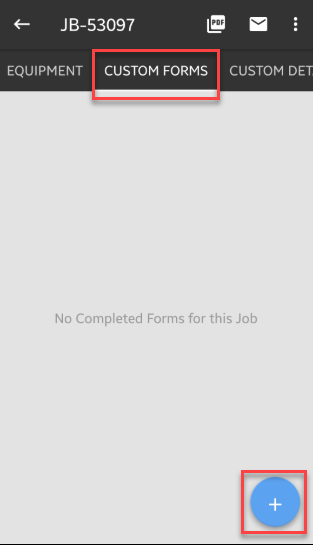
On Android, open the Custom Forms tab and tap +. On iOS, tap Forms and add a new form. Search for your form by name, or pick it from the list. Don't use a draft started before your change, as it won't pick up the new template.
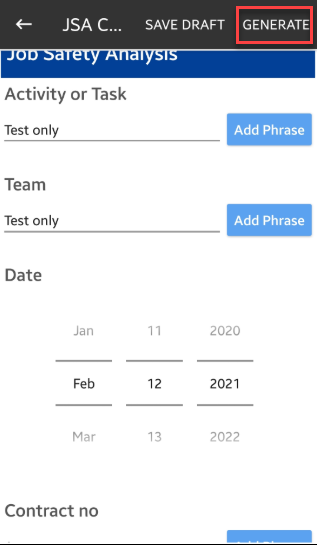
Tap Generate.
Check that the PDF shows the value you entered.