









⚒ How to Create a New Job
Creating a new job in Ascora can be done in several ways, depending on your workflow and the specific needs of your business. Whether you're adding a job directly from the Job List, linking it to an existing customer, converting a quotation into a job, or quickly scheduling it from the calendar, Ascora provides multiple options to make job creation easy and efficient.
New Jobs can be created in a number of different ways in Ascora:
- From the Job List
- From the Customer Details
- By Converting a Quotation
- By Clicking and Dragging on the Schedule
Depending upon your particular workflow, one way may be faster/easier for you - for example recording a new Maintenance Job over the phone with the Customer is usually easier from the Scheduler as you can create the Customer, Job and Booking all in one go.
📽 Watch the video guide ⤵
Creating a New Job from the Jobs Screen
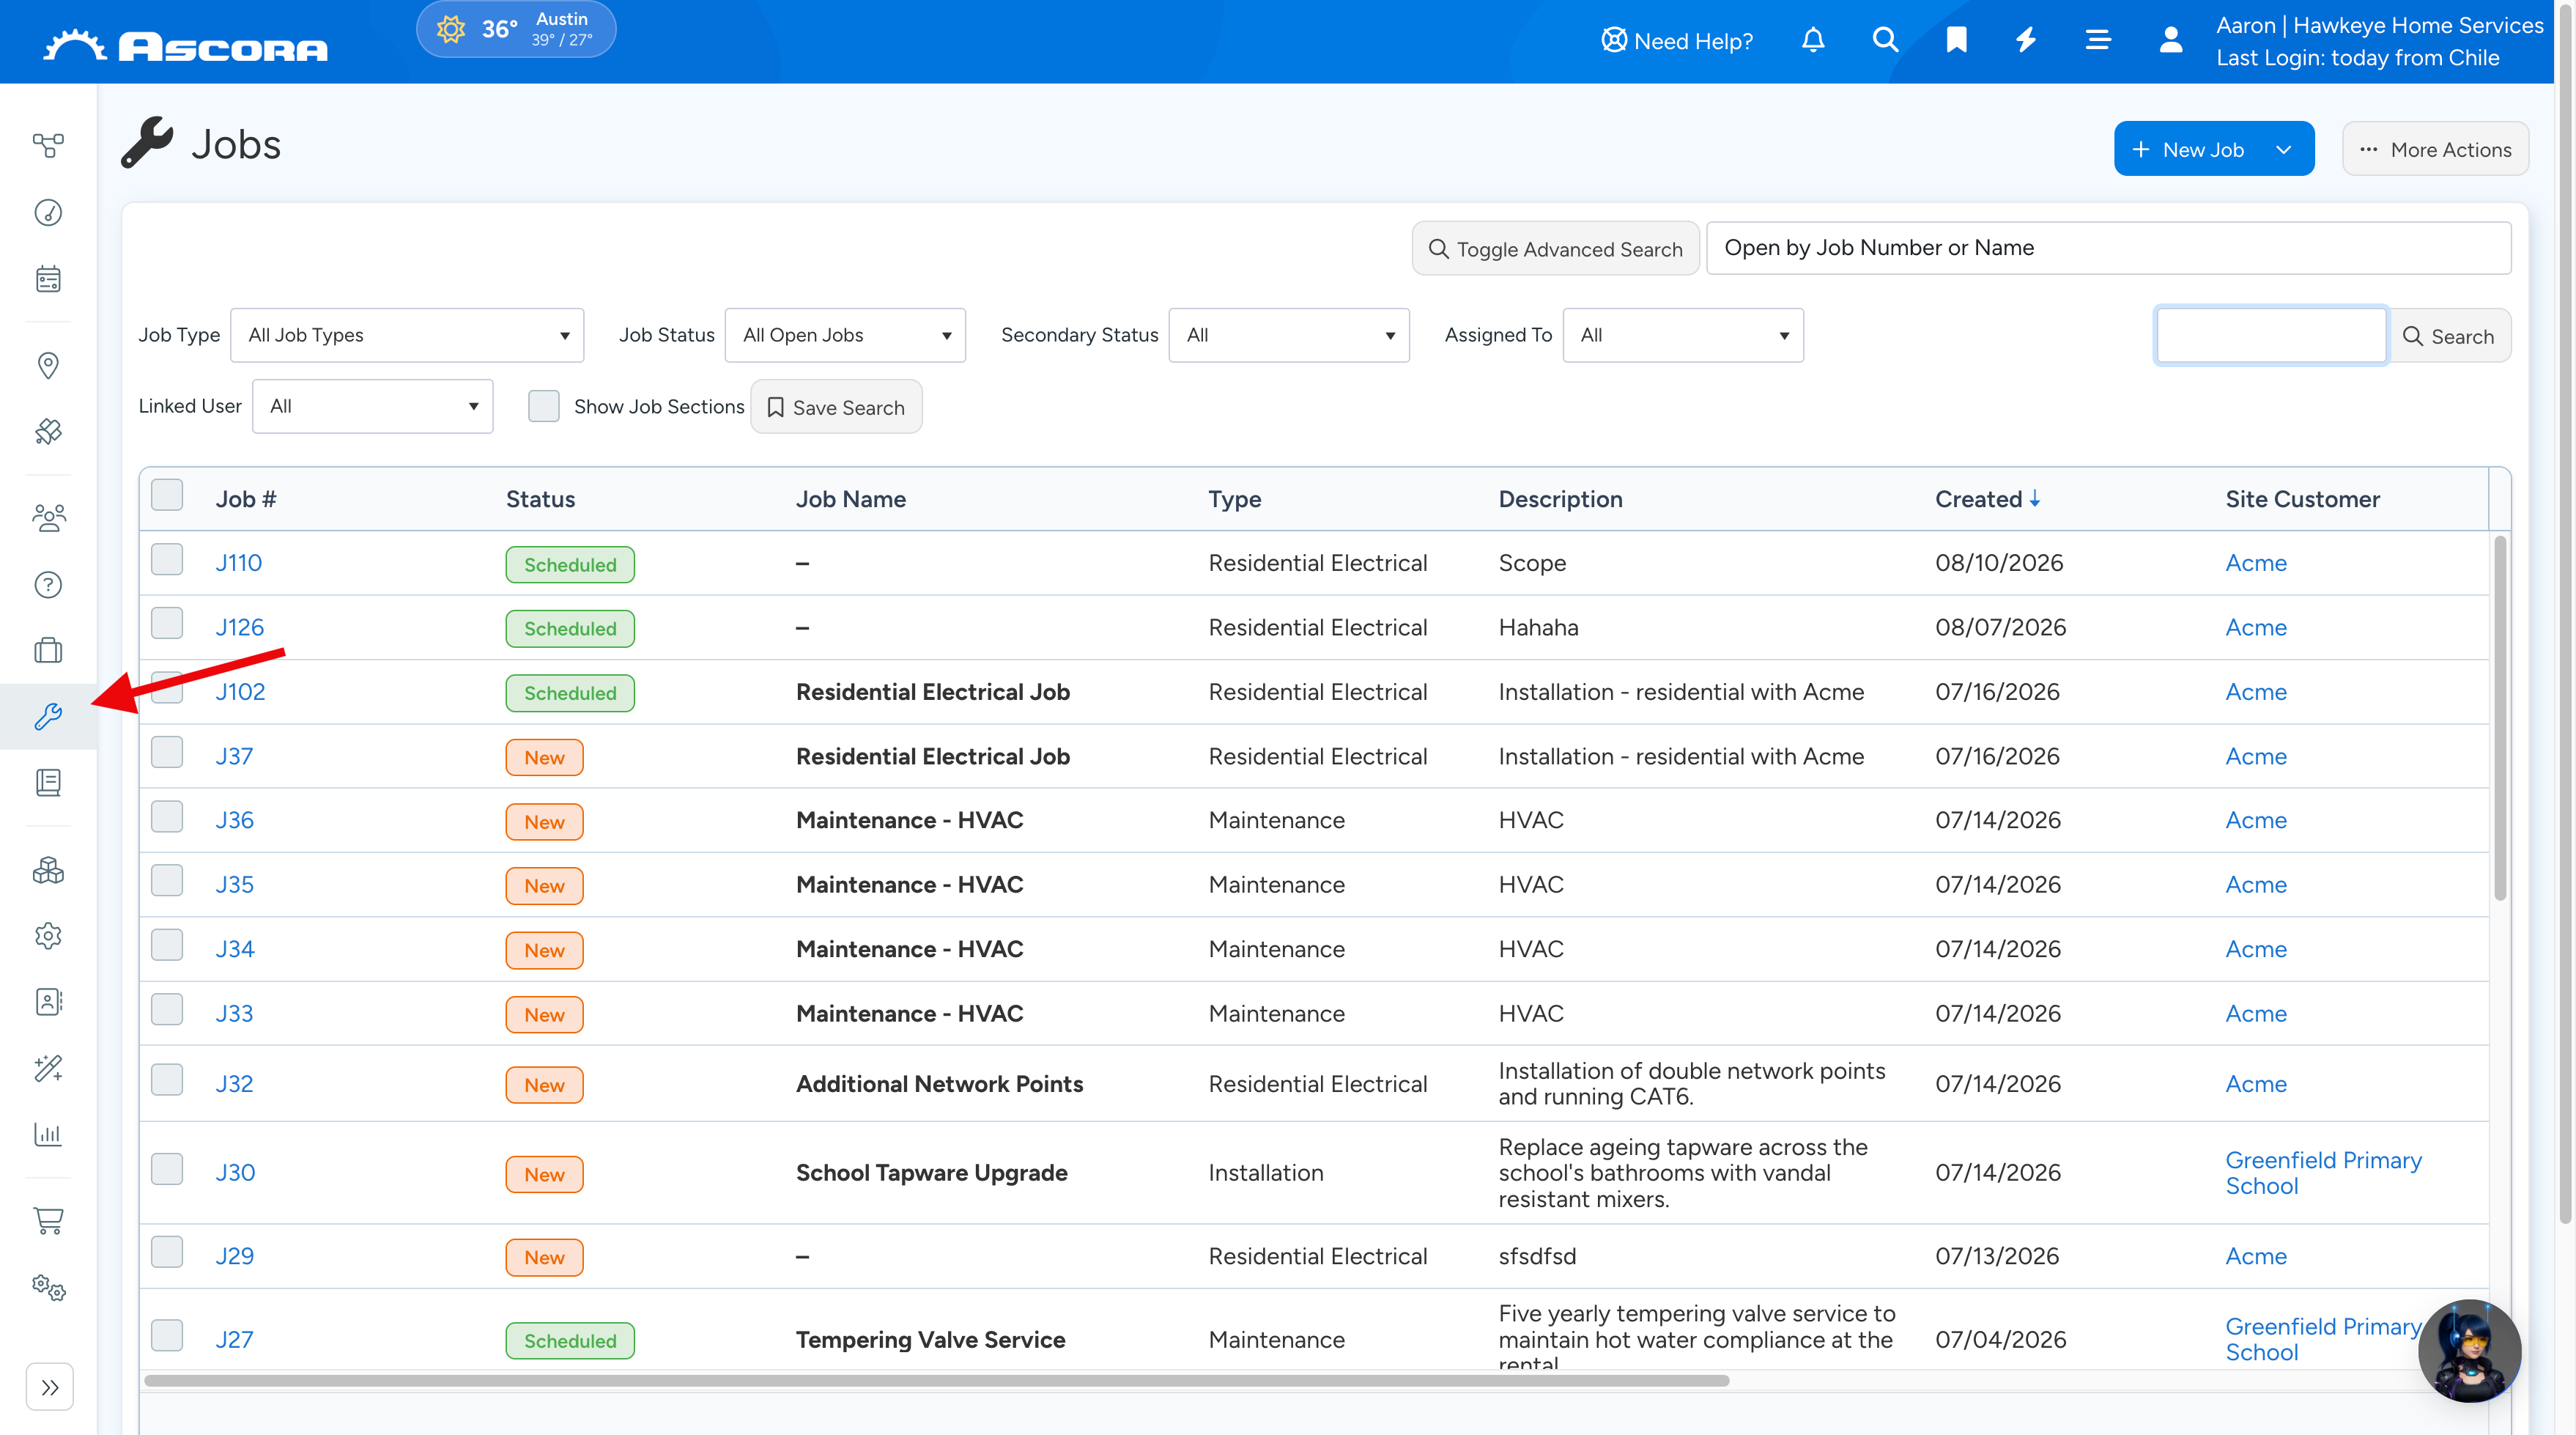
- Click Jobs in the side navbar to display the Jobs List.
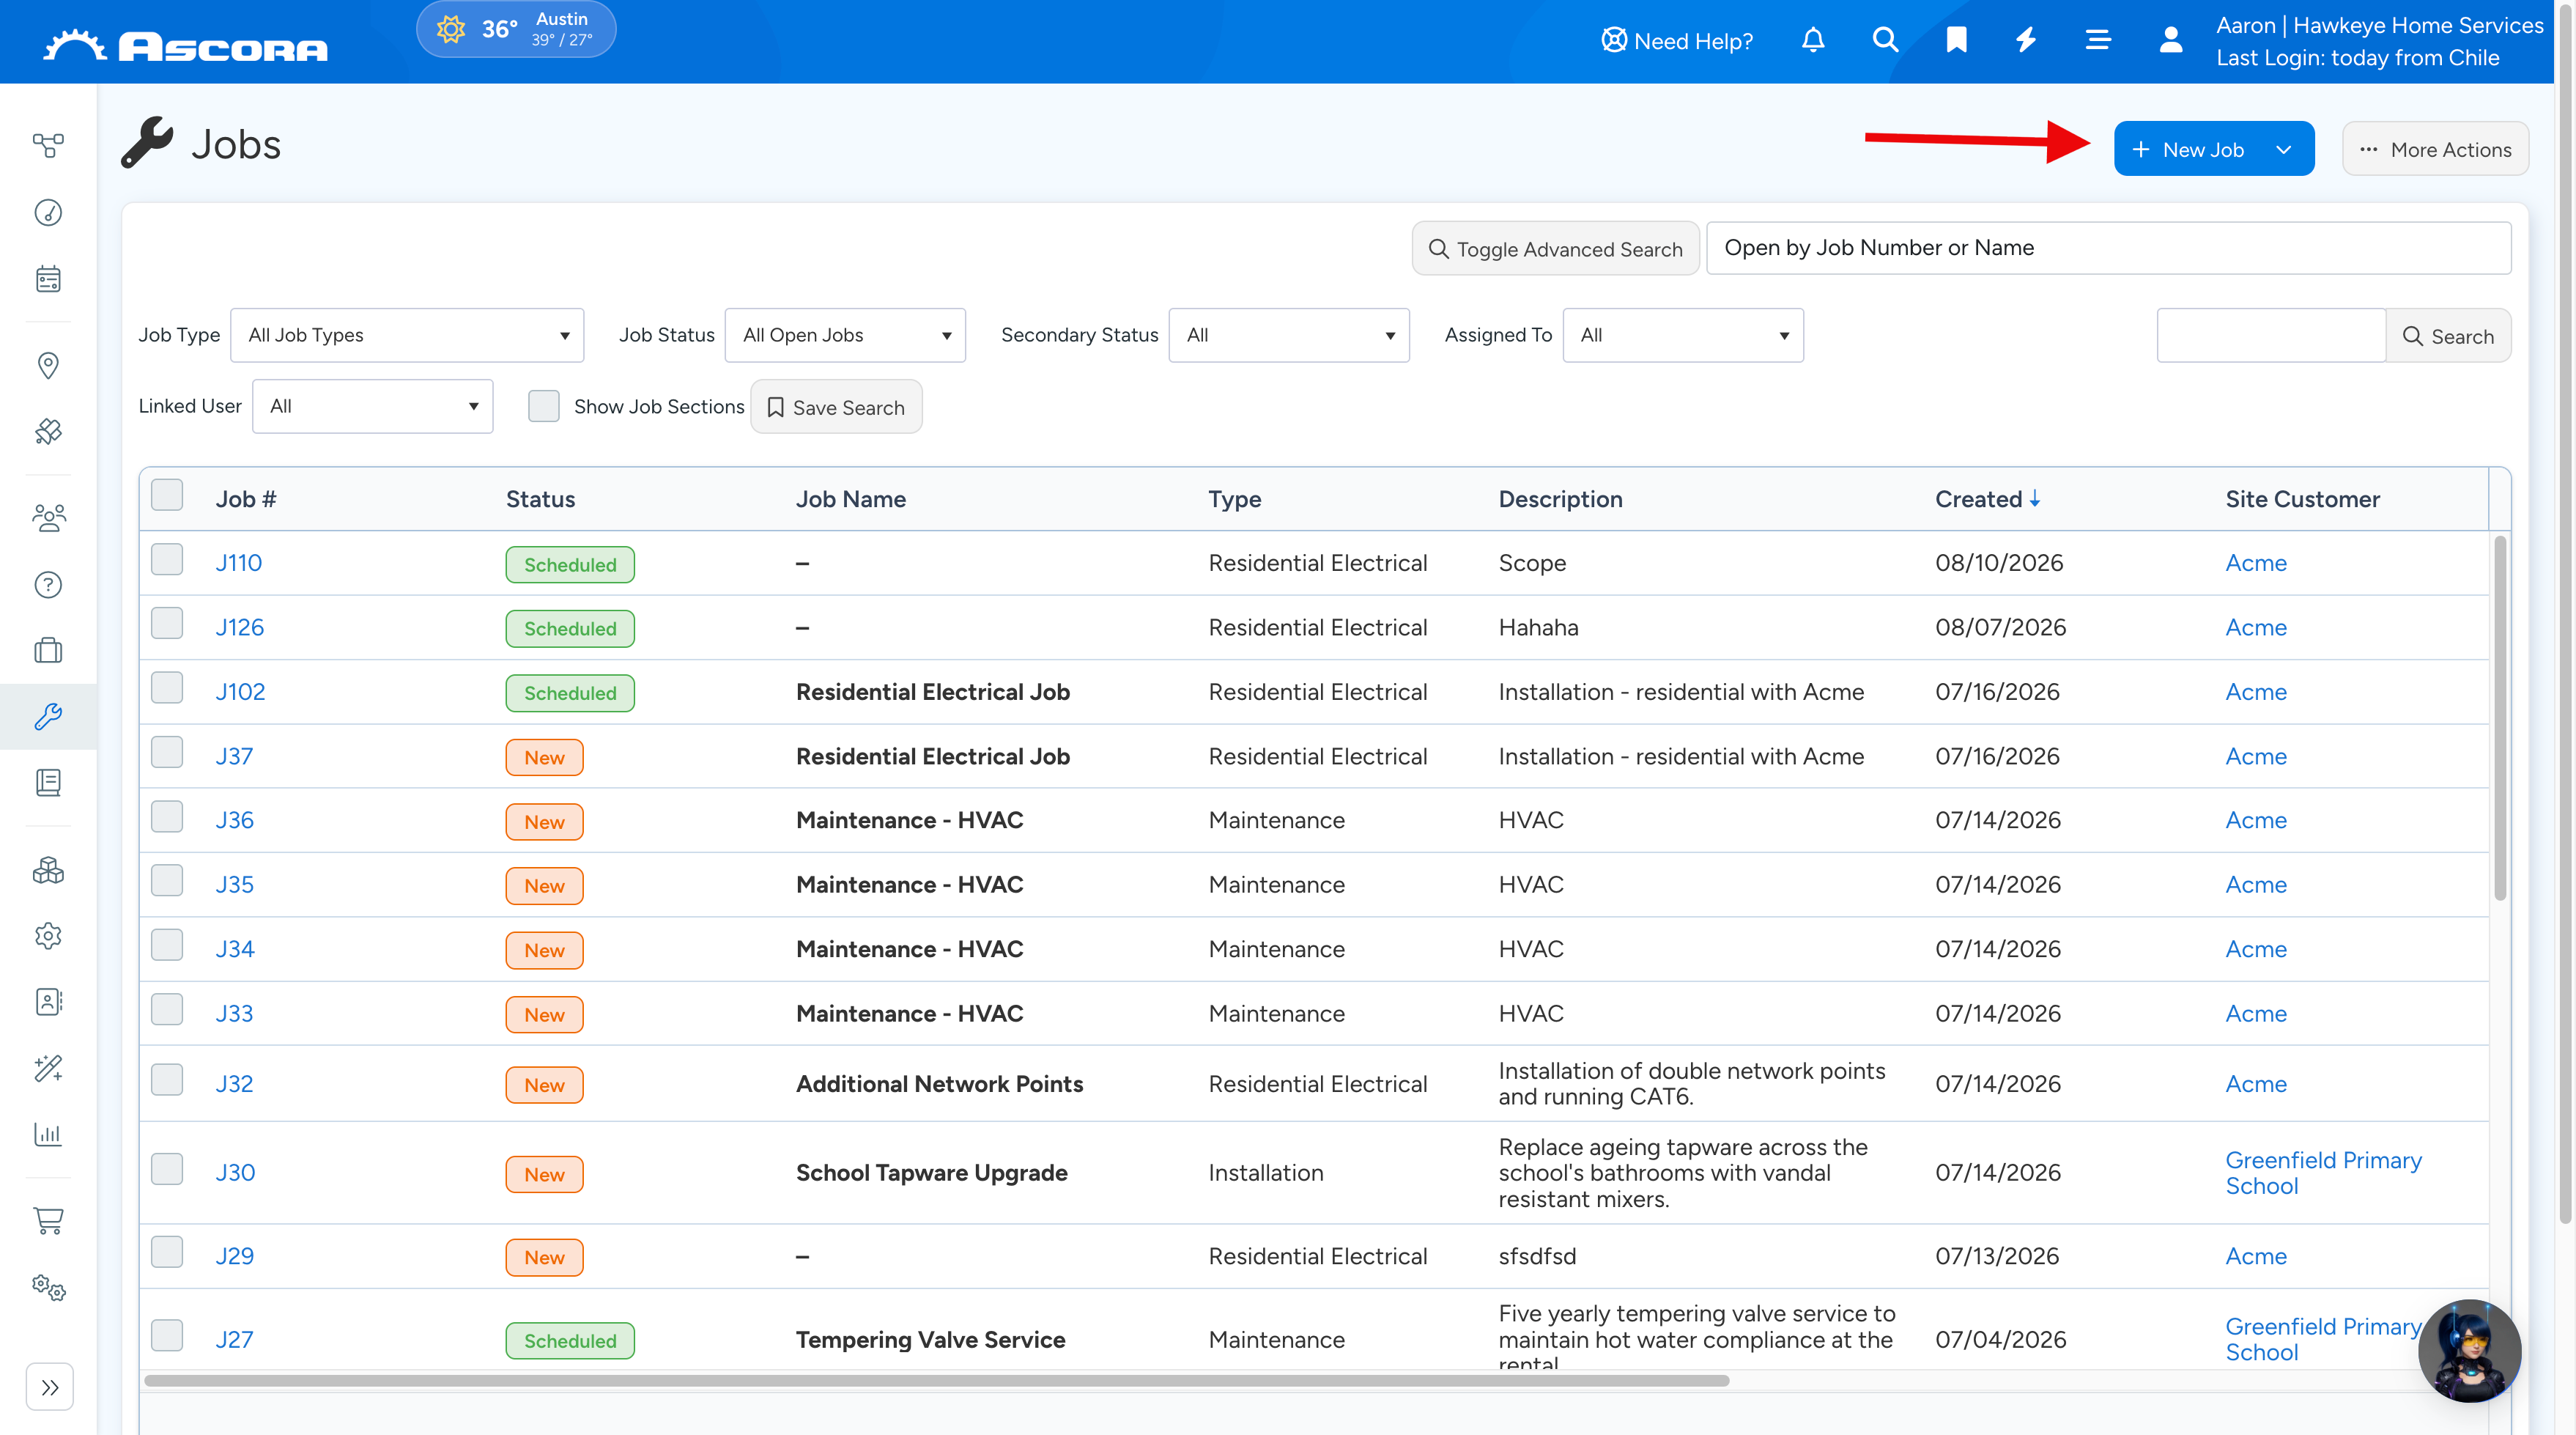
- Click the +New button to create a new Job and follow the steps.
Creating a New Job from a Customer Card
- Click Customers in the side navbar to display the Customers List, and select a customer.
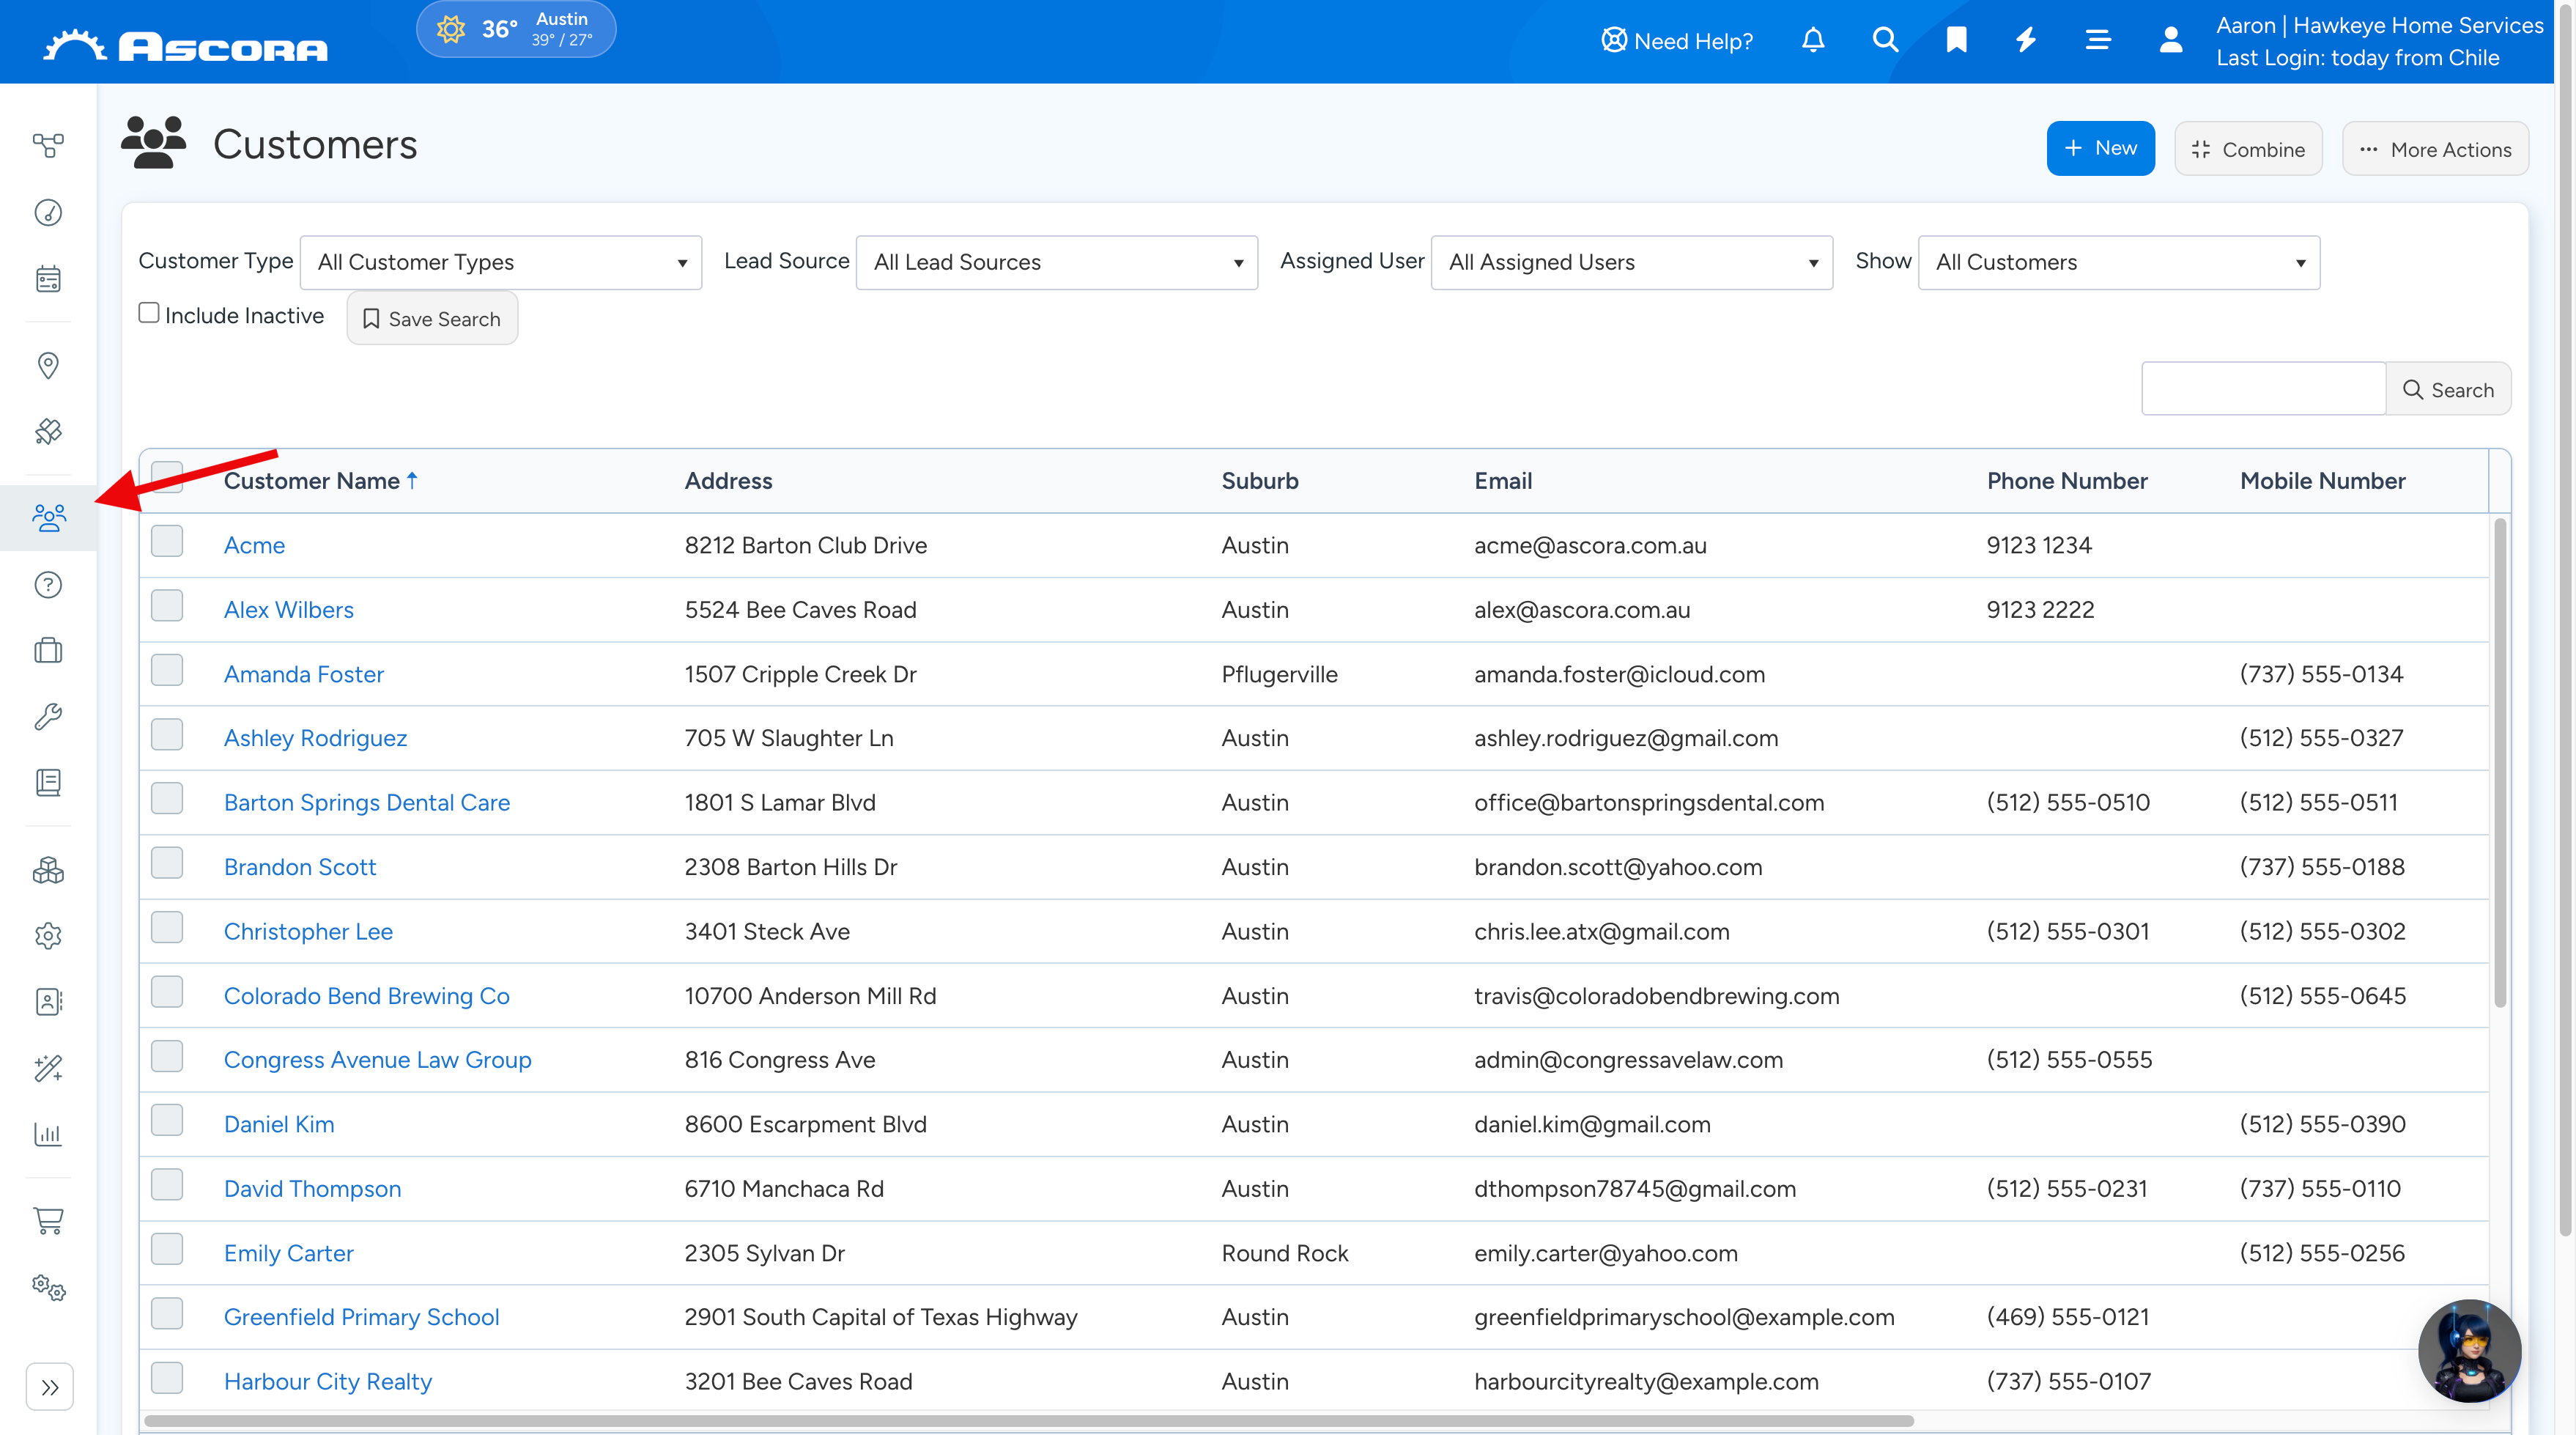
If the Job is for an existing Customer, find their record in the Customer List and click the View button located next to the Customer Name. See Search for an Existing Customer for assistance.
If the Job is for a new Customer, create a new Customer record by clicking the +New button. See Create a New Customer for assistance.
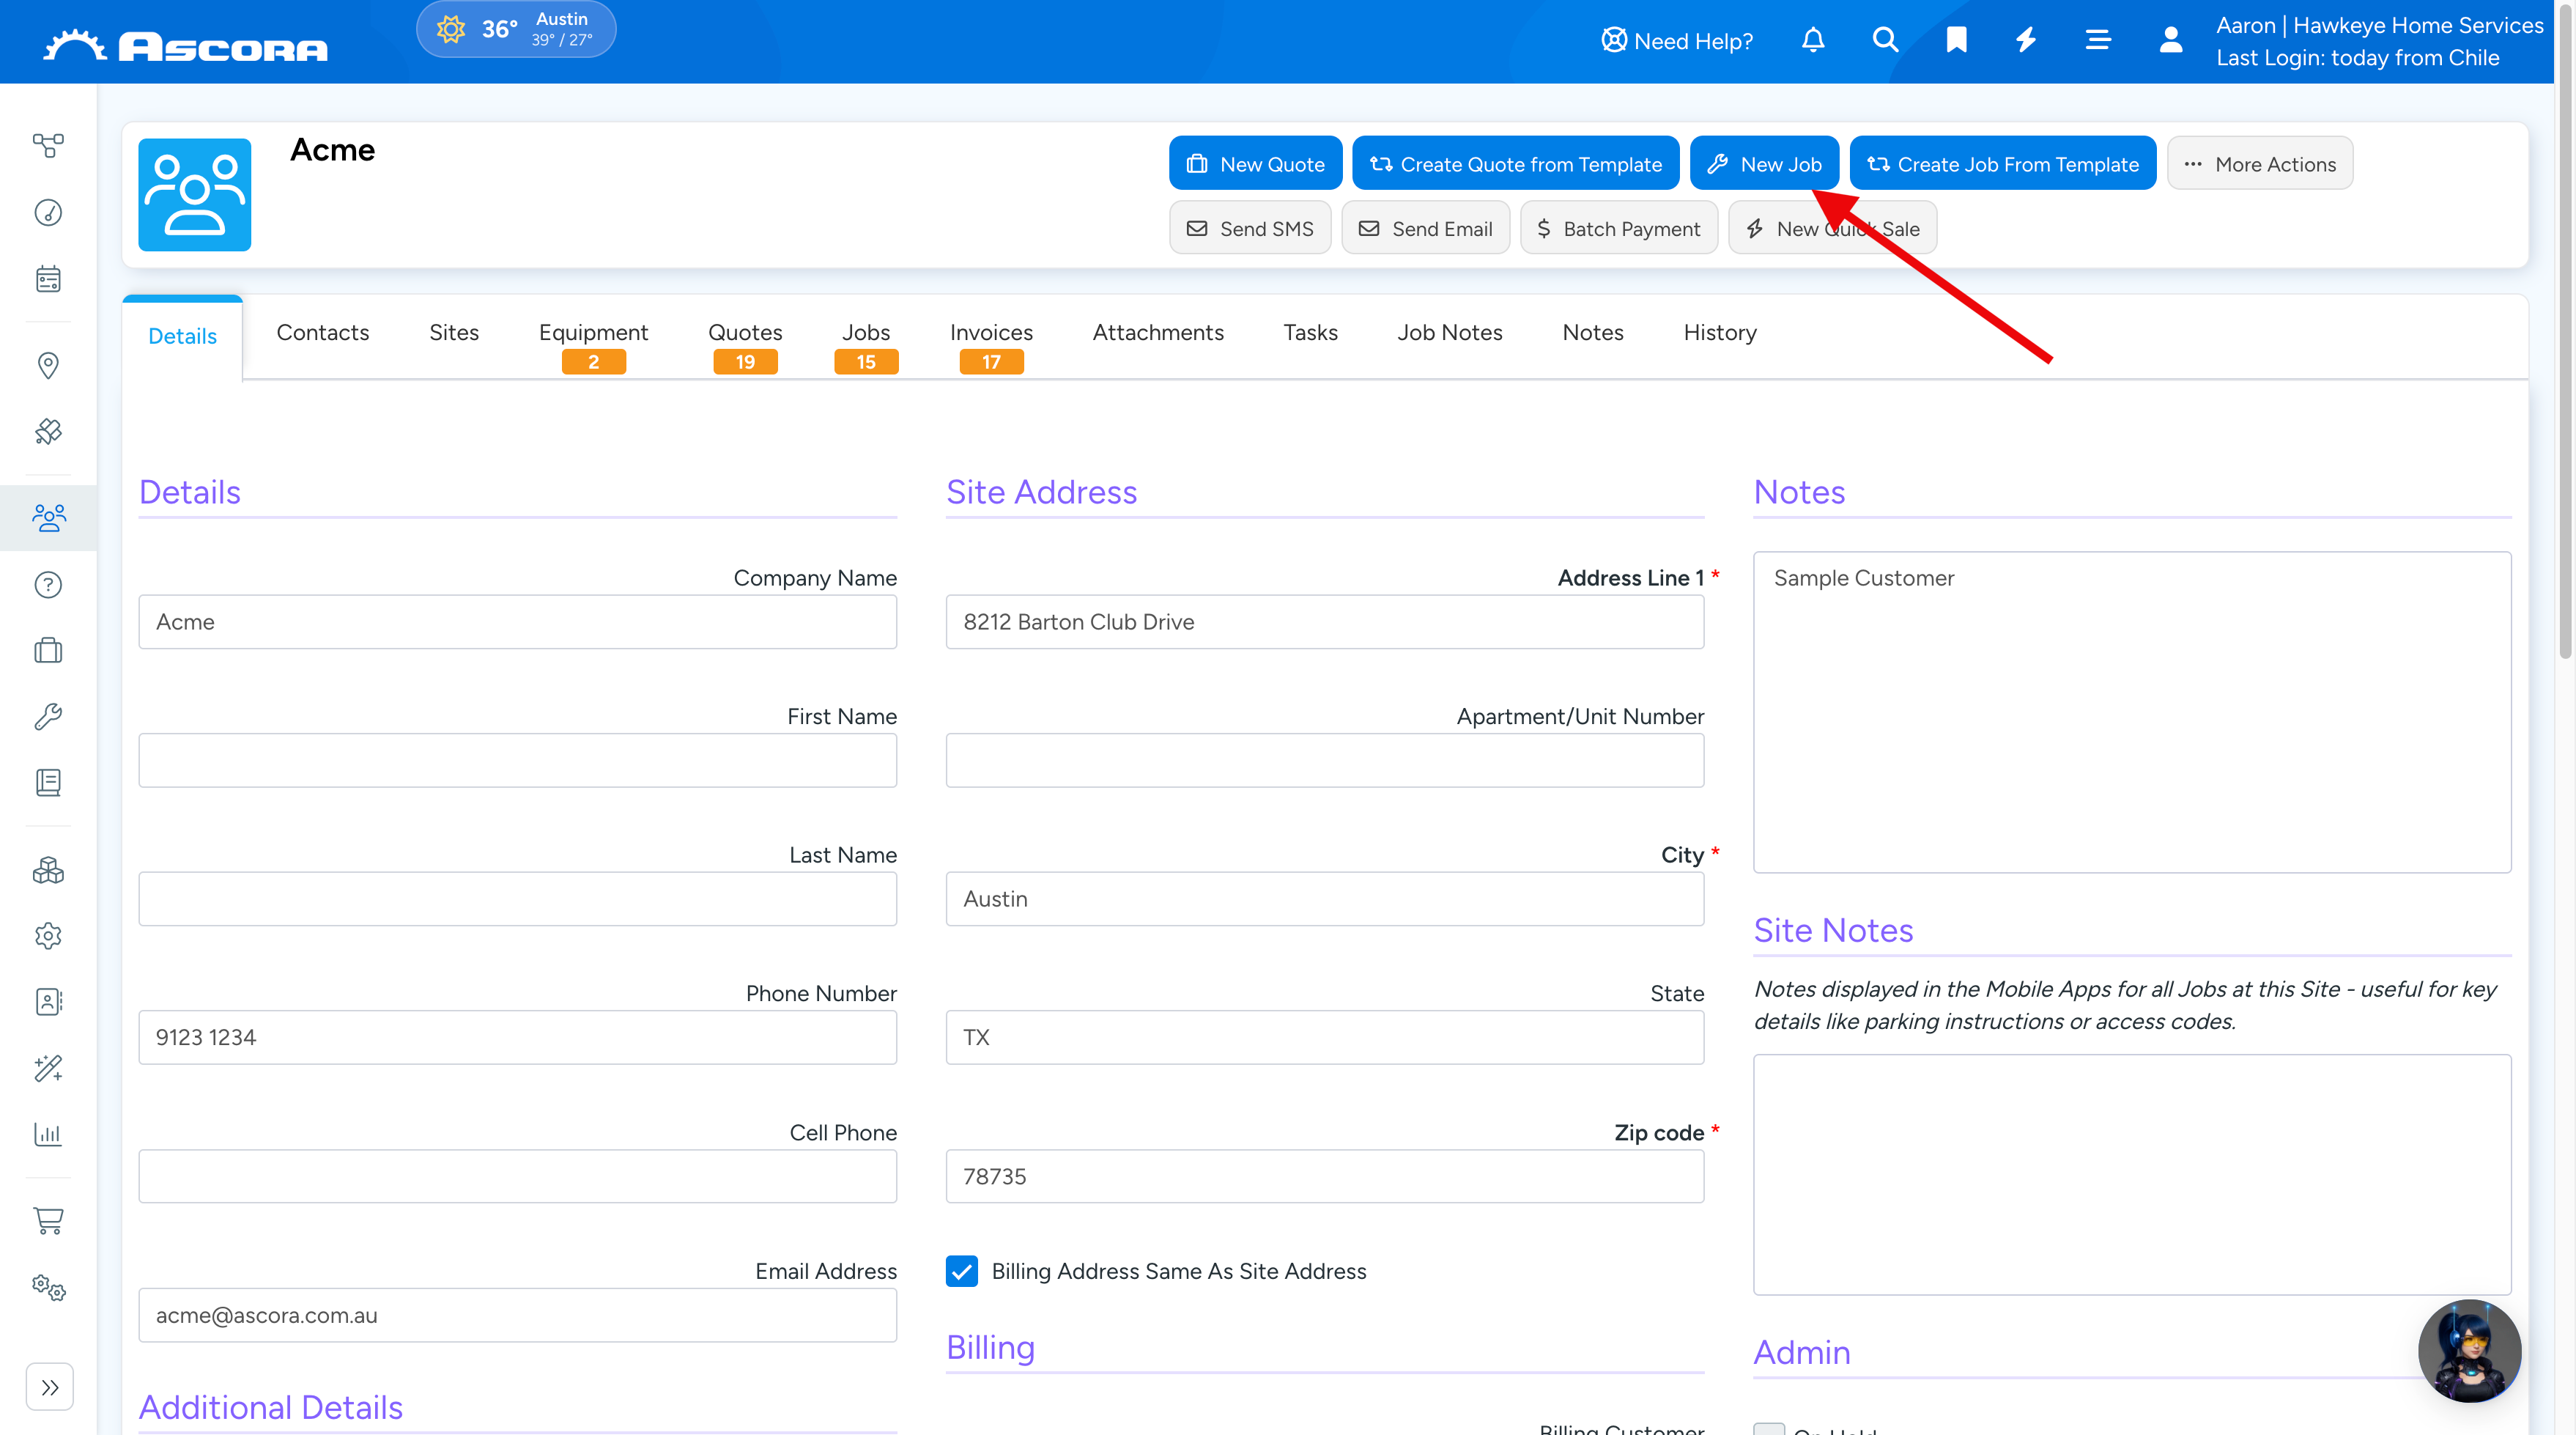
2. Click the New Job button in the toolbar to create a new Job. The new Job Details will display with the Customer information automatically populated.
Creating a New Job from the Scheduler
📽 Watch the video guide ⤵
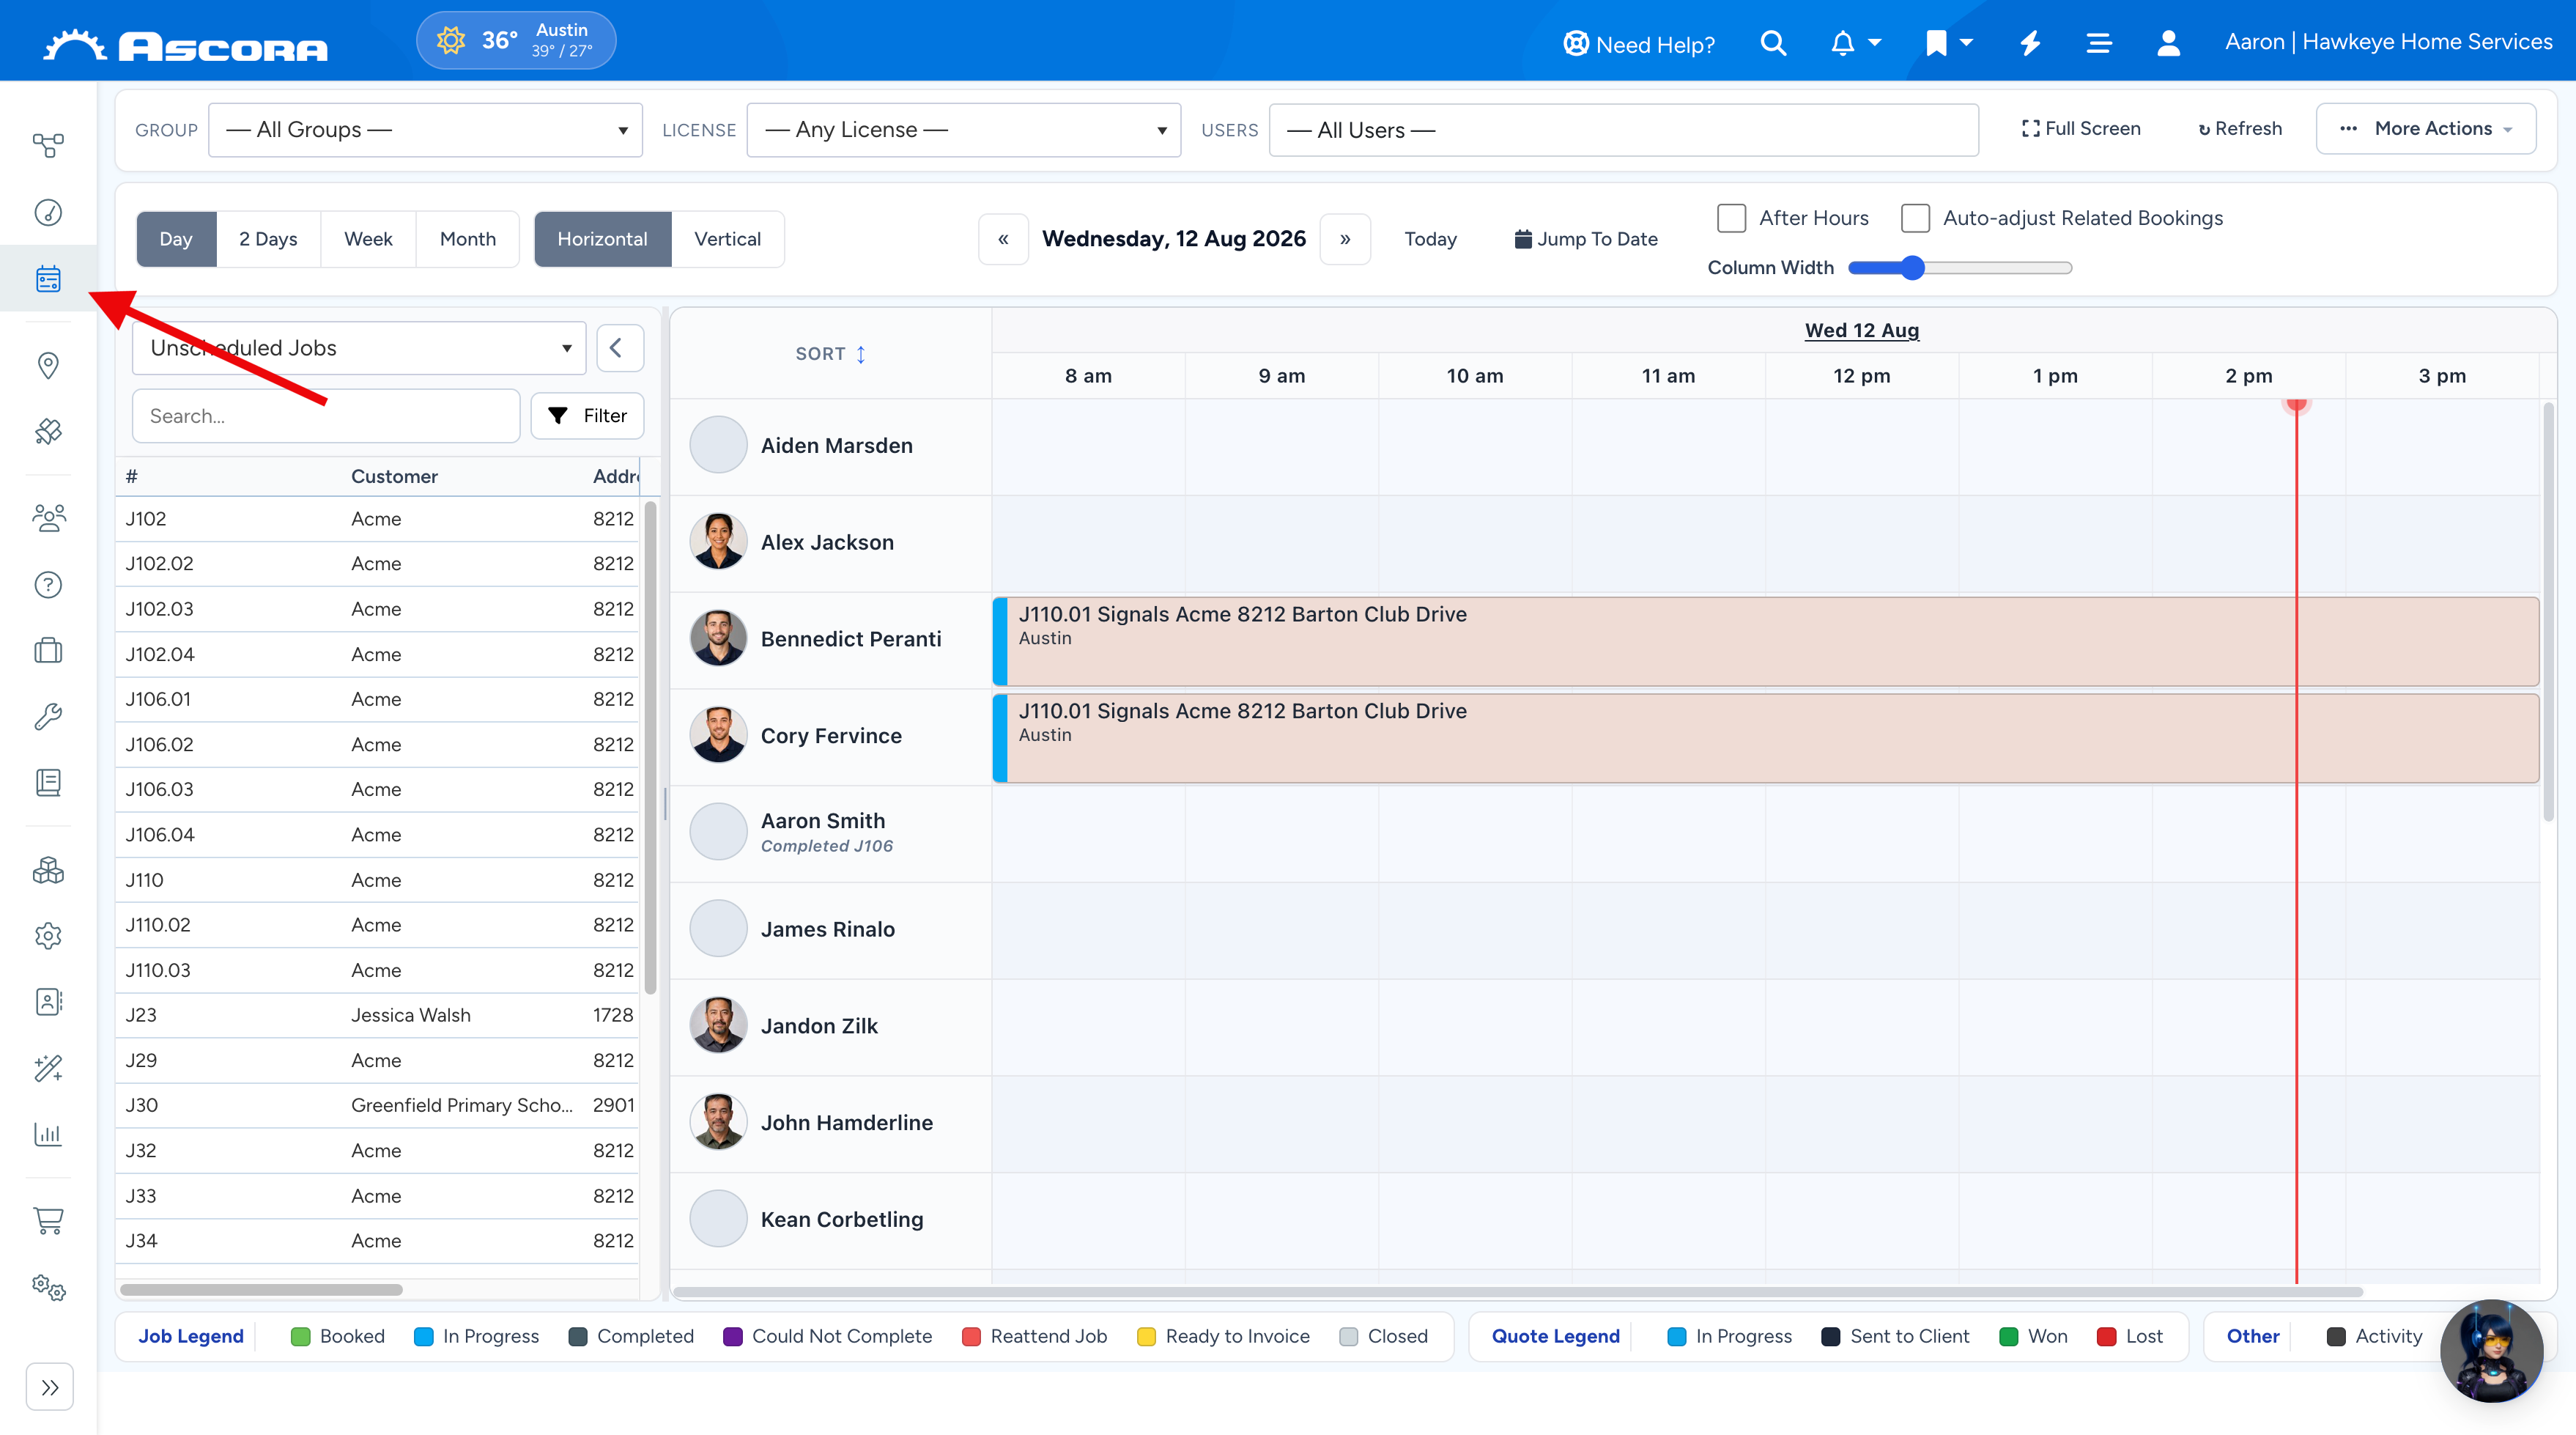
- Choose the Scheduler icon from the side navbar to display the Scheduler.
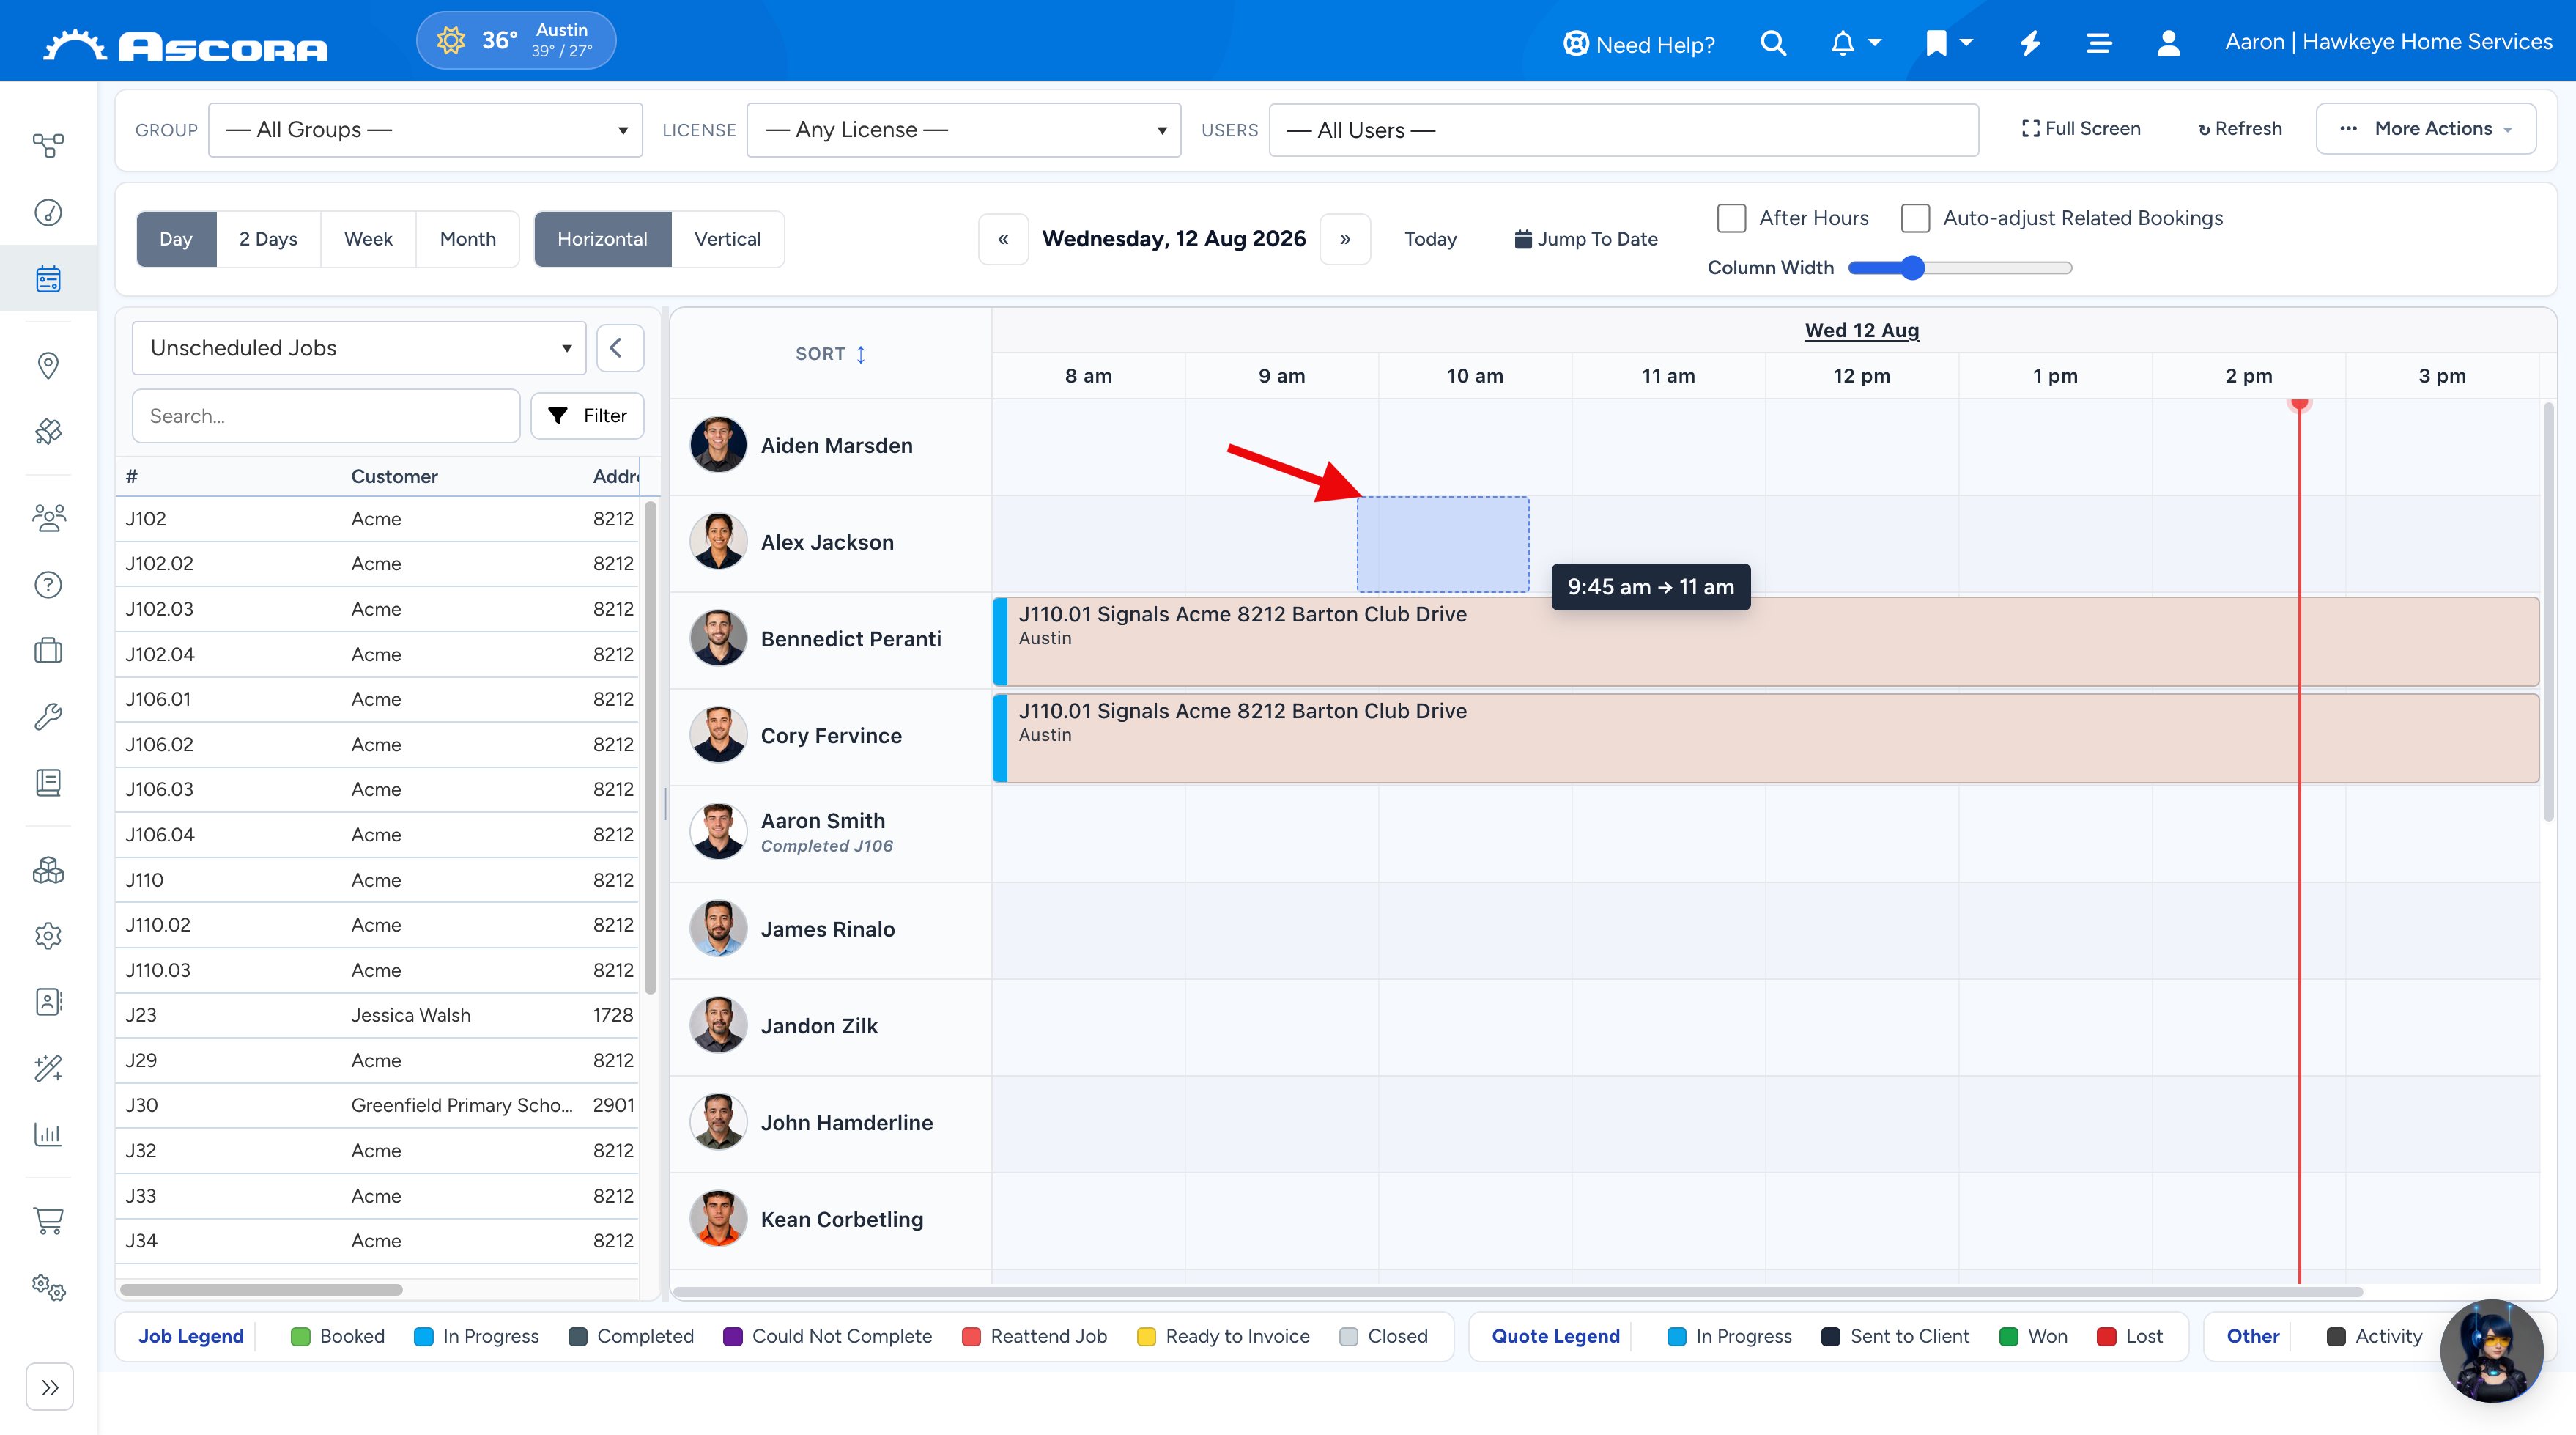
2. Hold the mouse pointer over the time and User for which you want to schedule the Job. Click-and-Drag to schedule the Job for your chosen duration. When you release the mouse button the Customer Selection screen will display.
If the Job is for an existing Customer, find their record in the Customer Selection list. Click on the Customer then click the Next-> button. See Search for a Customer for assistance.
If the Job is for a new Customer, click the Create New Customer button to create a new Customer record. See Create a New Customer for assistance.
The Job Details screen will display.
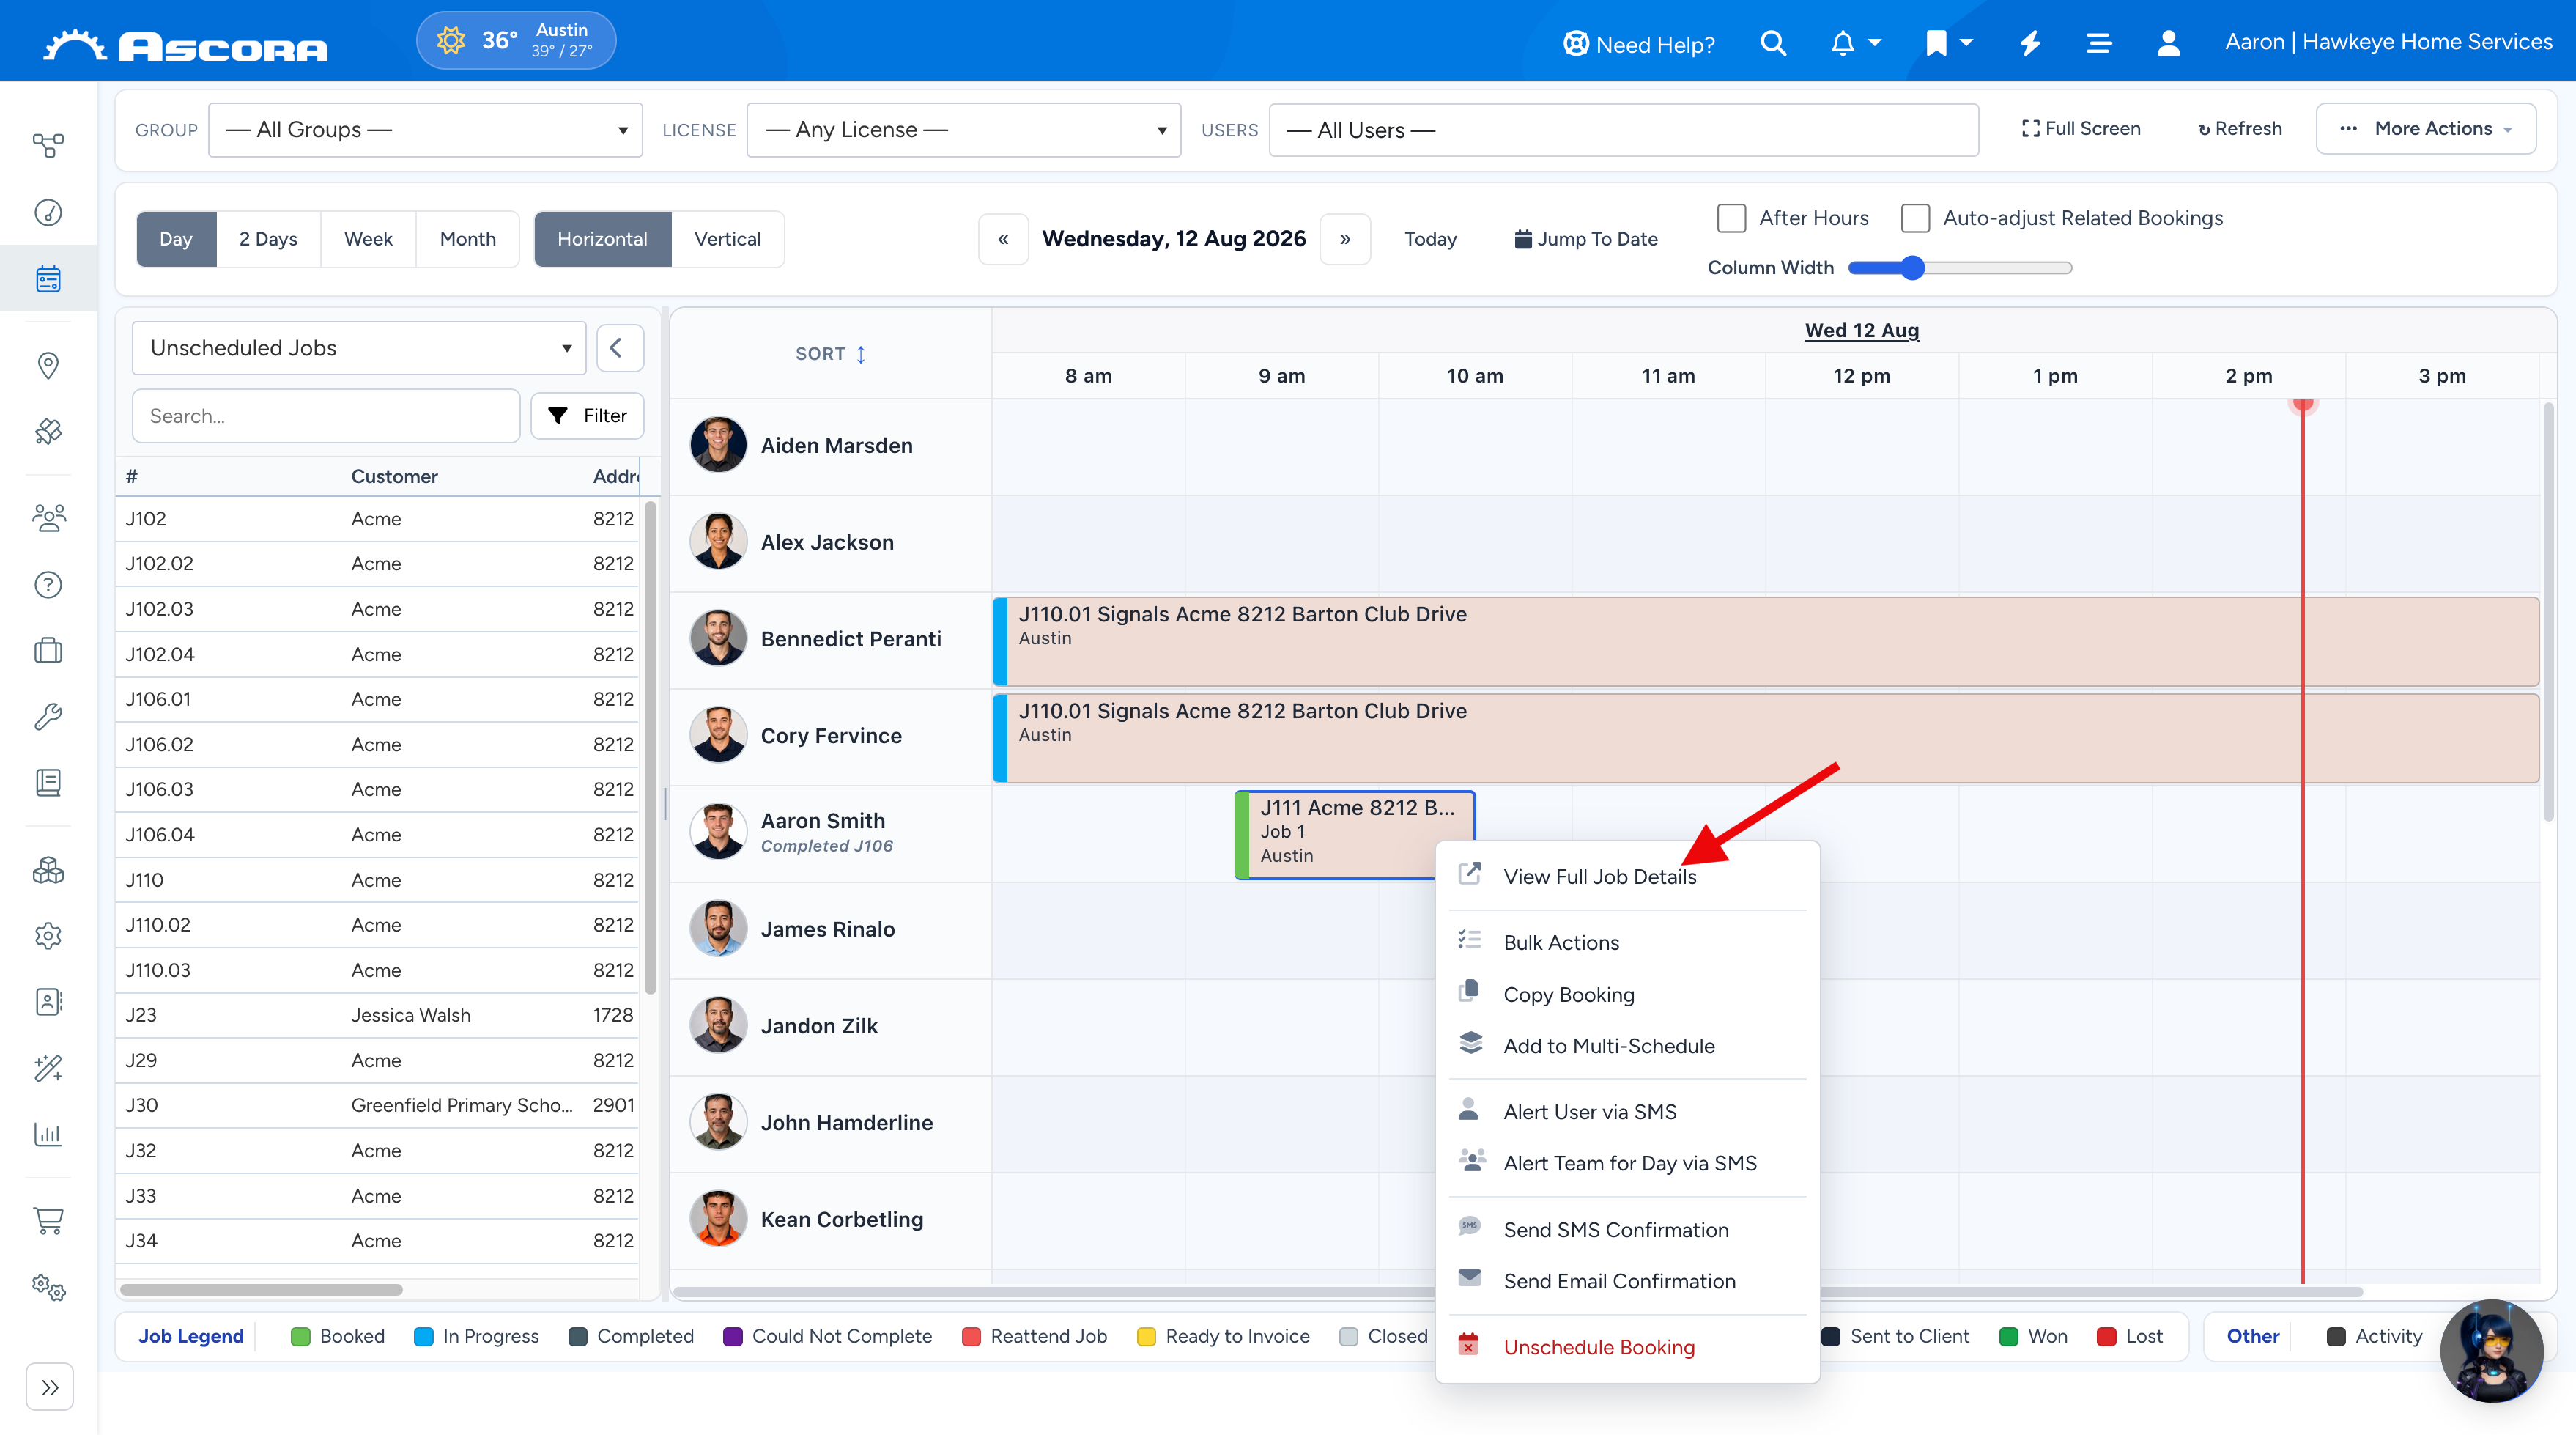
3. Enter the details for the Job. To display the Job Details, right-click the Job in the Scheduler then click the View Full Job Details button.
Sub Pages
Got a question?
Submit an Idea
💡 Go to Ideas Portal
Was this article helpful?
Contact support